In fluid system engineering, the check valve may appear to be a simple component, but it plays a critical role. Its main function is to prevent reverse flow of media, thereby protecting essential equipment such as pumps, compressors, and piping systems from backpressure damage.
However, many engineers underestimate the importance of proper check valve installation, assuming that “as long as it’s installed, it’ll work.” This often leads to neglect of key installation elements such as flow direction, pipeline pressure, media type, and vibration control.
As a result, check valves may malfunction, leading to serious leakage, frequent failures, system vibration, or even a complete shutdown of the fluid system.
This article provides a comprehensive guide to check valve installation, including practical techniques, common mistakes, and solutions — helping you avoid costly errors and ensure long-term system reliability.
The main function of a check valve is to prevent reverse flow of media in the pipeline. It operates based on the flow of the medium itself, automatically opening and closing the disc to allow one-way flow.
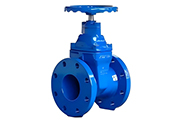
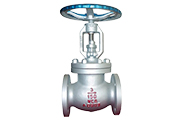
Lift Check Valve – Suitable for horizontal or vertical installation, commonly used in clean media systems.
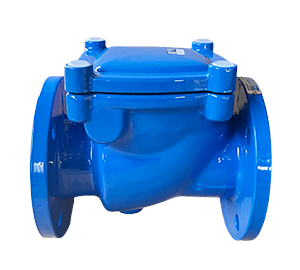
Swing Check Valve – Low flow resistance, ideal for low-speed flow or large-diameter pipelines.
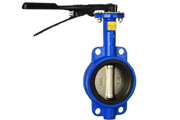
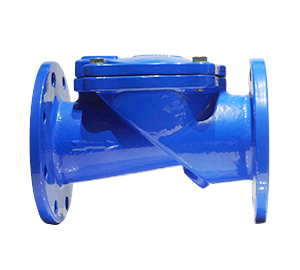
Butterfly Check Valve – Compact design, suitable for installations with space constraints.
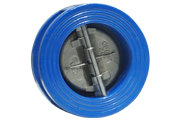
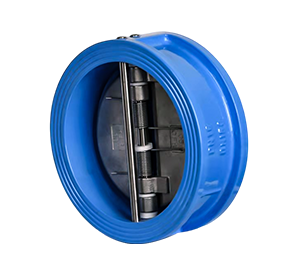
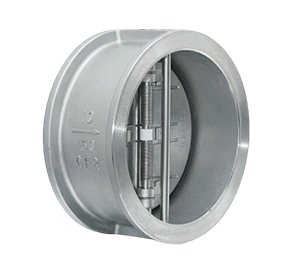
Dual Plate (Wafer) Check Valve – Fast opening and closing, minimal impact, suitable for high-frequency start-stop systems.
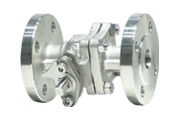
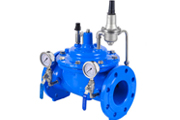
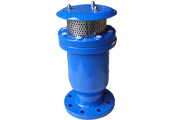
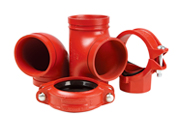
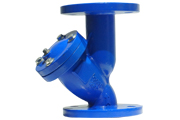
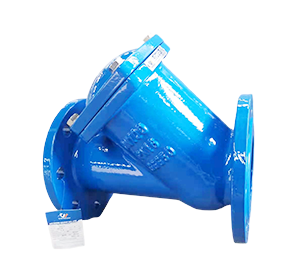
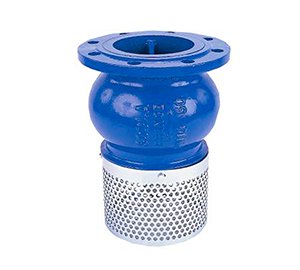
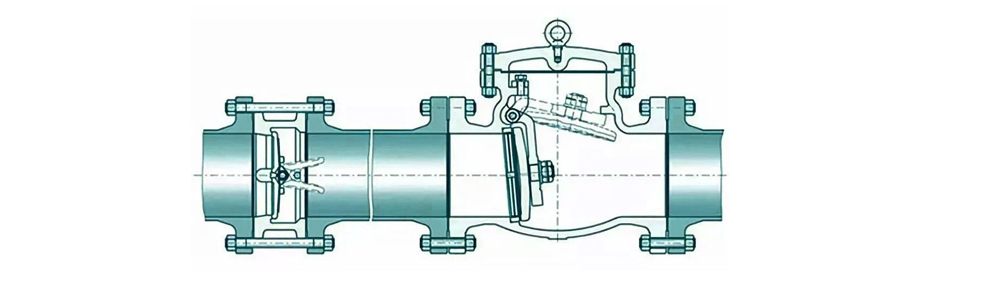
Combination Check & Strainer Valve – Ideal for systems requiring both anti-backflow and filtration, such as pump inlets.
Each type of check valve has specific installation requirements. Even minor oversights can lead to system issues.
Confirm Flow Direction Indicator: Always follow the arrow or flow direction symbol marked on the valve body.
Inspect Valve Condition: Ensure the valve body, sealing surfaces, and moving parts are intact, rust-free, and unobstructed.
Clean the Pipeline: Make sure the pipeline is free from welding slag, iron filings, or debris to avoid valve core damage.
Determine Installation Location: Avoid installing the valve in areas with high vibration or aggressive corrosion.
Check Connection Compatibility: For flanged or threaded connections, ensure the interface sizes match and that sealing gaskets are correctly selected.
Installation Orientation: Can only be installed horizontally or vertically; the disc must remain perpendicular to the ground to ensure gravity-assisted closing.
Flow Direction: Media must flow from bottom to top.
Tip: Do not install at pump outlet dead zones — can cause vibration and noise.
Installation Orientation: Horizontal installation only, with bonnet facing upward.
Flow Direction: Follow the arrow marked on the valve body.
Tip: Ideal for large-diameter, low-pressure systems. Avoid using in vertical pipelines.
Installation Orientation: Suitable for horizontal and vertical pipelines.
Flow Direction: Ensure the disc opens in the direction of fluid flow.
Tip: Avoid installing at pump outlets with frequent start-stop operations or strong pulsations.
Avoid installing too close to pumps to prevent water hammer.
For systems with frequent start/stop cycles, consider using valves with damping or buffering features.
Always reserve space around the valve for maintenance access.

| Mistake | Potential Consequences |
| Wrong installation direction | Valve disc cannot open or close; media flows backward |
| Pipeline not cleaned | Valve core stuck; sealing surface damaged; leakage occurs |
| Incorrect installation angle | Gravity mechanism fails; valve fails to close |
| Too close to pump outlet | Water hammer; valve or pipeline damage |
| No support or base structure | Large valve under uneven force; leads to leakage or rupture |
Avoiding these mistakes not only extends the valve’s service life but also improves system stability.
Ensure valve disc operates smoothly
Check for unusual noises or leaks
Regularly inspect for signs of reverse flow or unstable flow rates
Inspect sealing and operation flexibility every 6–12 months
If disc is stuck or opens sluggishly, clean or replace parts
For underground or concealed installations, install inspection wells or access points
Clean water: Lift or swing type
With impurities: Butterfly or dual plate type
Corrosive fluids: Stainless steel body with rubber sealing
Tight spaces: Recommend wafer-type or compact short-body check valves
Frequent on/off systems: Use check valves with buffering or damping design
Flanged, wafer-type, threaded — must match pipeline interfaces
Correct selection is half the success of installation! If you’re unsure, contact our engineers for professional assistance.

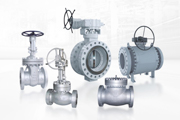
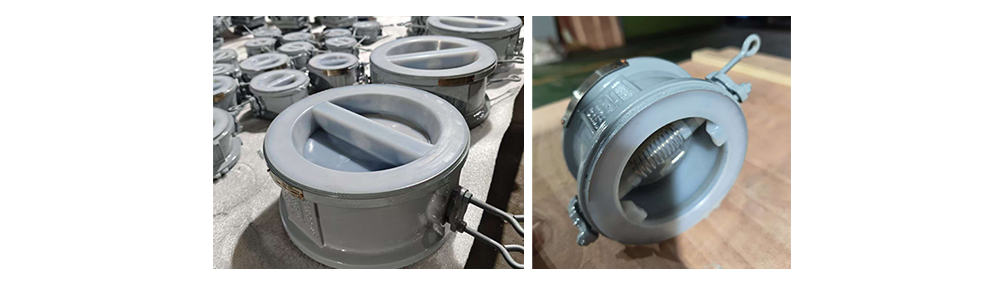
As a professional valve manufacturer, WEIZIDOM provides a wide range of check valve types and materials, applicable in water treatment, municipal supply, irrigation, chemical systems, and industrial automation.
* 100% tested before shipment to ensure leak-free sealing
* Available in various materials for corrosive, high-temperature, or high-pressure conditions
* Custom options: buffering, filtering, special materials
* Expert support: selection advice, installation guidance, and complete project services
A check valve may be small, but its installation quality directly affects the safety and stability of the entire system. Mastering the methods and tips in this guide will not only improve system performance but also significantly extend the valve’s life and reduce future maintenance costs.
Contact Us for Professional Support and Accurate Quotation
If you’re looking for high-quality check valves, need help with product selection, or want to get a detailed quote, feel free to contact us:
📩 Email: eileen@wsdsolution.com
📘 Facebook: https://www.facebook.com/WesdomGateValve
🌐 Website: www.wsdsolution.com
WEIZIDOM – Your Trusted Partner in Fluid Control Systems.
Let us help you build a safer, more efficient system with expert advice and premium products.